When I used to work in Vancouver, BC, my office was right near Granville Island. Every now and then, when I forgot my lunch, I would wander over to the Granville Public Market to see what took my fancy. One of the stalls I always stopped to admire, was the fresh pasta from Duso’s. The flavour combinations were always inventive, and they would add stripes to their pasta! Ever since seeing them, I have wanted to make my own striped pasta.
A few years back, I was given a pasta roller as a Christmas present. It was a most unexpected gift, as it was from a Secret Santa exchange, and I didn’t know the person who had my name very well. It was absolutely perfect, as I had been dying to try my hand at making fresh pasta! And once you’ve mastered making plain pasta, striped or coloured pasta isn’t very far off! It’s not any more difficult, but it is time-consuming – oh so time-consuming…
Making fresh ravioli is only really worth it if you’re going to make unusual flavours. It takes so much time, that it’s not worth making regular cheese or spinach pasta. You have to mix together the dough, allow it to rest, make the filling, roll out the dough, fold + roll some more, then fill and cut the ravioli. Honestly, sometimes I’m not sure if I’m a masochist, or just love to cook and bake. It’s up for debate. 😉
To make your pasta striped, you have to mix together both regular dough, as well as coloured. While you could use food colouring, good-coloured pasta is made with natural ingredients. Cocoa powder makes brown, beetroot powder for red/pink, spirulina powder for green, turmeric or saffron for yellow, and tomato paste for orange. All of those ingredients have intense enough colours, so you only need a little bit. It means that they won’t alter the flavour of your pasta considerably. (But remember, the colour of the pasta will lighten when you boil them.)
As I was making beetroot-filled pasta, I opted to add beetroot powder to 1/4 of the dough recipe, substituting for 5-10g of the flour. It gave it a lovely bright fuschia colour. You’ll need to experiment to see how many colour ingredients you need to get your desired shade.
Okay, now the instructions for how to make fresh ravioli (using a roller). It’s a bit of a long explanation, but stay with me! If you already know how and just want the recipe for the filling, scroll to the bottom!
The first, step will be making your filling. You want it to be completely cool when you’re ready to fill your pasta, so it’s easiest to do this first, and then chill. You can find all sorts of recipes online, and feel free to experiment! Some of my favourites that I’ve made are butternut squash with sage and mushroom with pine nuts. For the beetroot recipe, I used the base of this recipe but then added some chopped roasted hazelnuts, an egg yolk, and rosemary.
While your filling is chilling in the fridge, make your pasta dough. My original recipe came from the Kitchen Stories app, but it was always too dry and I’d have to keep adding liquid. (The video does show you how to roll etc. which is helpful if reading the instructions is confusing.) I finally just made my own. You’ll feel like it’s crazy dry still, but just squeeze it together, knead a bit, and let it rest. The flour will continue to absorb moisture as the dough relaxes.
If you’re just making plain-coloured pasta, you’ll make one batch of the recipe below. If you want striped pasta, make 1/4 of the recipe with the added colourant, and 3/4 of the recipe plain. As you layer the coloured pasta over the plain, you don’t need a whole lot.
After your dough has rested, and absorbed all the moisture, you can begin rolling! I’ve got the Marcato Atlas 150 pasta roller, which I heartily recommend. It’s solidly built and comes with pasta cutters for making spaghetti or linguine. Or in my case, you can use the linguine cutter to make stripes for ravioli!
Your dough should not feel too dry at this point but is still more crumbly and stiff than any other kind of dough. For the best al dente pasta, you need to activate the gluten in the dough. What this means is lots of rolling it out, folding it, and then feeding it back through the machine. As with making croissants, this is called laminating.
When rolling pasta, you cut off a chunk of dough (re-wrap the rest) and flatten it enough to fit through the machine on the lowest setting. Then you slowly increase the setting until your dough is the thickness you want. But see, if you only do that, you’ll end up with soggy pasta. As this dough was never properly kneaded, we need to work the gluten in the dough to give it a bite when boiled. To do that, you’ll want to work the dough through a couple of the settings, then fold your dough in thirds, and feed it back through the machine on the lowest setting. For the best-textured pasta, you’ll do this about 6-8 times before continuing on to your final thickness. This also helps you get neat edges before cutting! You can see visual examples in this long post about the perfect homemade pasta. I think I’ll try that recipe the next time for comparison!
To add the stripes to your dough, you have to laminate each colour first, then roll each to the same thickness (about halfway to your desired thickness). Cut both pieces to the same length, and then cut the coloured ones into even strips. As I had a linguine cutter on my roller, I used it to cut the red dough into even pieces. If you don’t have one, you can simply use a ruler and pizza wheel/knife.
Then, use water to dampen one side of each stripe with a wet finger (or brush if you’re fancy), and lay over the plain dough sheet. This gets fed back into your pasta roller (at its lowest setting), and the two layers get sandwiched into one! Then you keep rolling it out until it’s the right thickness – it’s really quite easy!
Most people recommend that you roll pasta for ravioli to about the last or second-to-last thickness on your machine. Too thick and it’ll feel like eating more dough than filling, but too thin and your ravioli may explode when boiling. It’s a delicate balance.
Once you have two sheets of dough ready to fill, you can use a ravioli cutter, cookie cutter, or ravioli mould set. The first time I made filled pasta, I made tortellini by hand and it took ages! After that, I saw a ravioli mould at Homesense and jumped at the chance to make 12 ravioli at a time. This mould is very similar to the one I have at home.
If using a mould, first make sure it’s lightly floured. Then lay one piece of dough on top, fill each cavity with about a teaspoon of filling, and use water to lightly wet the area around each filling. Then lay a second piece of dough on top, press out any air bubbles, and use a rolling pin (often included) to cut all the edges. Turn the mould over and tap to turn them all out.
If you don’t have a mould, you lay one piece on a lightly floured table, and add little mounds of filling on top. Space them out as far as needed for whichever cutter you are using. Then wet around each filling (I just use a damp finger), and cover with the second piece. Press together around each filling to remove air bubbles, and cut out with your cutter! Easy!
As you are making the pasta, place the finished ravioli on a well-floured baking tray, uncovered. You can then boil them straight away, or freeze them in a single layer, before moving them to ziplock bags for storage. Ravioli cooks in only a few minutes, even from frozen. This makes them a great weekday meal, once you get past all the time they take to make. 😉
And that’s it! It takes a long time, but if you enjoy stuff like that, it’s quite fun. Especially to see your handiwork with the stripes!
So if you’re feeling brave, why not try making your own pasta this week? Or perhaps set aside some time on the weekend, as it can take a while…
*This post contains affiliate links*
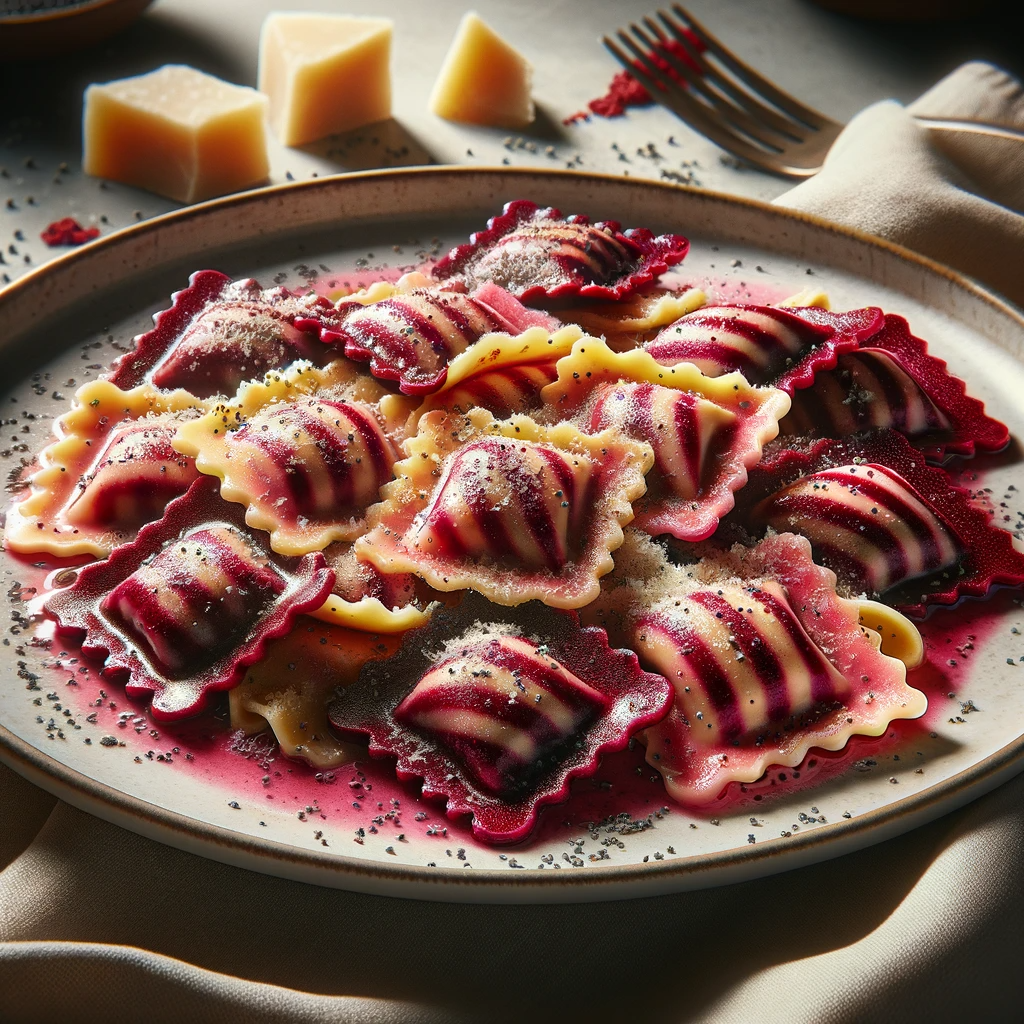
Beetroot Ravioli in Poppy Seed Butter
Ingredients
- 2 beetroots roasted cooled and grated
- 125 g ricotta cheese
- 2 tbsp bread crumbs
- 50 g hazelnuts roasted and chopped
- 1 egg yolk
- 1 sprig rosemary chopped
- 300 g ’00’ flour
- 100 g egg yolks about 5
- 50 g whole egg about 2
- 2 tbsp olive oil
- 1 tbsp water
- generous pinch salt
- 57 g butter
- 1.5 tsp poppy seeds
- freshly grated parmesan
Instructions
- Make the filling: mix together the grated beetroot, ricotta, 25g hazelnuts, egg yolk, breadcrumbs, and rosemary. Place in a piping bag or ziplock, and chill in the fridge.
- Make the pasta dough: mix together the flour and salt in a medium bowl. In a separate bowl, mix together the egg yolks, eggs, water, and oil.
- Make a well in the middle of the flour, and slowly stir in the liquid ingredients. Once the liquid has all been absorbed, press the mixture together with your hands. Gently knead together a few times on the table, wrap in cling film, and rest for 30 minutes to an hour.
- Make the ravioli: roll out two lengths of dough to desired thickness. Place first sheet down on floured ravioli mould, fill with about a teaspoon of filling (snip end off ziploack bag for easy piping), cover with second sheet of dough, press and cut into ravioli.
- Place finished ravioli in a single layer on a well floured tray.
- Make the poppy seed and hazelnut buter: melt butter over medium heat with hazelnuts and poppy seeds until fragrant and nutty.
- Cook pasta in boiling salted water, until they float and lighten in colour. Toss in the poppy seed butter, divide among plates, and top with freshly grated parmesan.