Okay, just a simple update on the kitchen here (with a stupidly long post). I’m just trying to finish up a couple little projects, and possibly find a rug to fit the space, and then I’m calling it done! One thing that we finally have finished, is making all our cabinets match and look built in.
As I mentioned in the first kitchen saga post, our kitchen came with IKEA cabinets that were no longer available, and we had to replace the upper cabinets in order to add more storage. Now, we could have kept the lower wood, as I’m a fan of a two-tone kitchen, but all the white appliances sort of messed that up. My original plan with the kitchen had been to do a tuxedo kitchen with deep navy or green lower cabinets, and a white top. But, as our appliances were all white, you’d be left with half white, half colour. Not exactly the look I was going for. So, in an effort to make the kitchen feel brighter and larger, we went all white. Does that make any sense to anyone besides me? No? Okaaay…
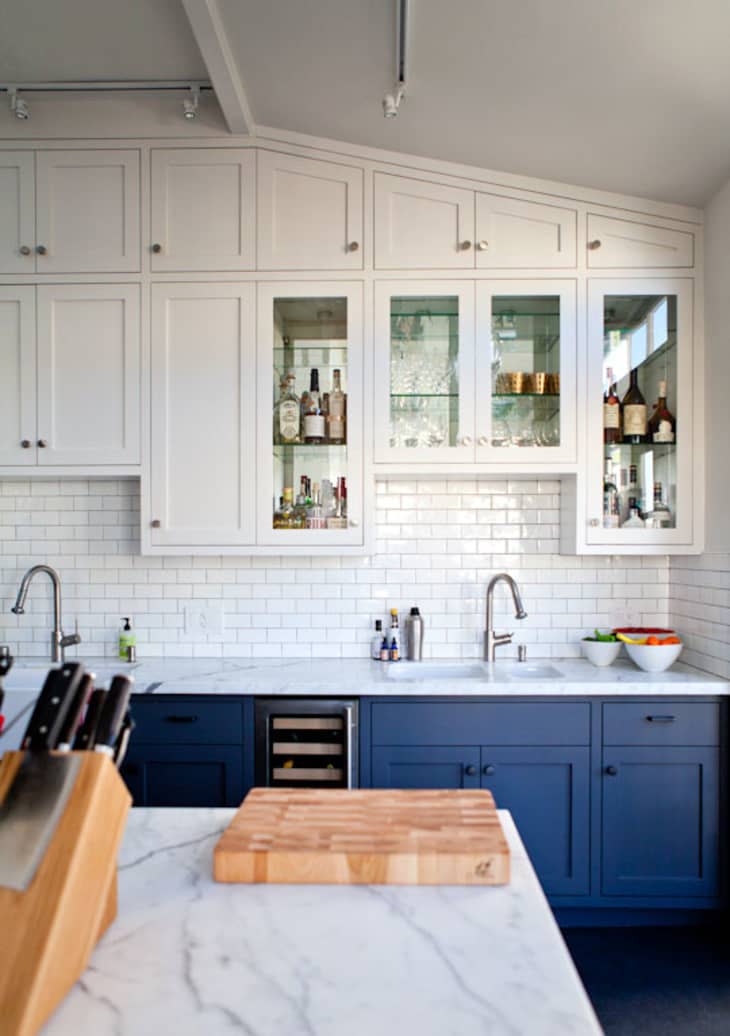
beautiful navy + white tuxedo kitchen via Apartment Therapy
So, that meant painting our lower cabinets white, but what about the upper ones? I could have colour-matched IKEA’s SÄVEDAL doors, and then painted everything in our kitchen the same, but decided against it. See, every ceiling, door, and trim in our flat is painted All White by Farrow + Ball. If I wanted to use the IKEA white colour, then it would have meant repainting our doors and trim in the kitchen to this different white, and I didn’t want it to look different from the other rooms in the flat. (Richard wishes I had told him about the colour-matching option…)
Am I crazy? Yes. But I also justify it because the finish on the doors was so smooth and machine-made looking, that all the built-in trim with brushstrokes would have looked different. We would have had to paint the doors to make them all look the same, no matter which white we used.
Aaaaanyways. So in addition to painting all the wood doors and trim below, we had to paint all the new upper cabinet doors as well. That meant removing all the hinges and handles, cleaning everything of grease etc. and giving it all a light sanding. For the wood cabinets and trim, we used 3 coats of this primer, and then 2-3 coats of our Valspar paint in All White. For the upper cabinets, it took 2 coats of primer, and then 2 coats of paint. After the doors were up, I did a bit more sanding, and some touch-up paint, as we had been painting on low surfaces and little bits of fluff kept getting caught in the paint.
Now came the fun part – making all the IKEA cabinets look built-in. See, I’ve always been a huge fan of inset cabinetry and wanted to try and give our bank of cabinets a similar look. This meant filling in the gaps all the way around the cabinets with wood and trimming it all out.
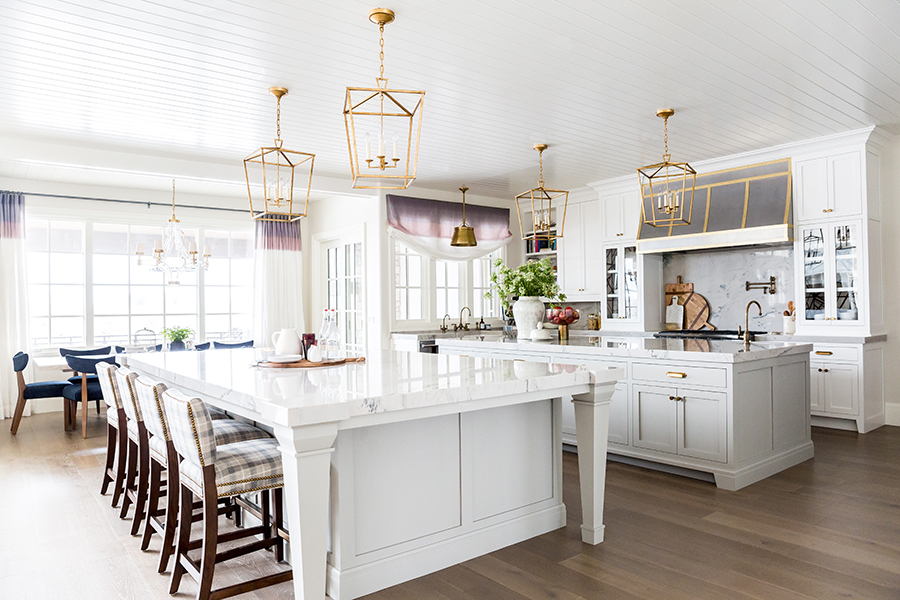
inset cabinetry inspiration via Curated Interior
To get the look I wanted, it meant lining up the trim with the cabinet doors, as opposed to the frames. So we added a piece of 21x21mm strip wood all around the cabinets, flush with the face of their frames. To install it, we simply screwed into the piece from inside the cabinets with a couple of wood screws. Not only did this give us a piece we could then attach the trim to, but allowed us to offset our next piece by a few millimetres in order to create a gap between the doors and our trim.
For the left and right side facing trim pieces, all it required was some No More Nails, and then some finish nails into our strip wood. The one on the left was one solid piece, but the one on the right was two separate pieces because of the window. As the side pieces were quite narrow, they didn’t need any other support, but the piece running along the top required more help. If we had only secured it to the strip wood, then it wouldn’t have stayed in place – the long expanse of pine was just too heavy. So we used some scrap wood that we had lying around and built some supports all along the length of the cabinets, to prevent it from leaning, and then screwed the piece into supports on either end as well. Unfortunately, I forgot to take a photo showing the larger support pieces on the ends, that we screwed the facing trim into. Just imagine them…
As our ceilings aren’t level, we were left with a bit of a gap towards the right side. However, we weren’t too concerned as crown moulding would cover it. See, all the rooms in our flat, except for the hallway and kitchen had some sort of moulding or covering around the ceiling. Even the bathroom has a really simple coving. But for some reason, the kitchen didn’t have any, which always bugged me. I wanted to make the room feel a bit more architecturally interesting, and add some character back in. Not only that, but it would finish off our built-in cabinetry quite nicely.
Now, one thing I have noticed here in England is the lack of available moulding for the average DIYer. You can buy wood coving at trade-only shops, but nothing for the average Joe (me!). The main reason, I discovered, is because coving here is traditionally made of plaster. And after our experience with installing a heavy plaster ceiling medallion, we weren’t about to try that again. Which meant that our only option was to use the stuff readily available to us – polystyrene. Now, I know what you might be thinking – “ew, plastic coving – gross! that’s not adding character at all!” – which is exactly what I thought at first. But, as it was the only option, we went for it.
We ended up purchasing this kit from B&Q as it was the closest in style to the existing moulding in our flat (see above) and came with mitred corners. It was relatively easy to install, except that our not-perfectly-flat walls meant that we had to hold some pieces up for a while so that they held instead of drooping. We probably would have had an easier time if we’d used No More Nails instead of the coving adhesive, which took aeons to dry fully. (We found that out after using it to fill the gap along the ceiling and had to wait until the next day to sand and paint.) The other part that made it so time-consuming was the number of pieces we had to cut. Our room has 5 corners, which meant we had a total of around 13 or so pieces to cut and stick up. That also meant a lot of joins to try and smooth out. I’m a bit meticulous about filling and sanding, as Richard could tell you.
Our final pieces were some quarter-round trim that we added vertically along all the edges that meet the tiles. Once they were up, filled, and sanded, all it took was a few coats of paint. As per usual, we used All White for the trim, and then I cut in again using the wall colour – Barest Hush.
Then, all the cabinets got their matching handles, and the drawers as well. The handles that we chose are these ones from Etsy, in the 14cm length for all the cabinets, and one 23cm long one for the drawer below the oven. The drawer pulls are these ones from the same Etsy seller, in the 7.5cm length. They have a subtle texture, like cast iron, but visually match the smooth handles.
The final touch was filling in the gap along the tiling with silicone caulk. I made sure to tape both edges before filling and then smoothed it with a damp finger before quickly removing the tape and smoothing it again. Once that dried, the whole thing was finished!
We went from basic IKEA cabinetry to something that looked built-in and far more expensive! Not bad for just some simple pine trim, and plastic coving eh? Just don’t count how long it took us to accomplish… 😉
Now we’re just one step closer to a finished kitchen! We can finally put away the paint cans, and start adding those finishing touches. Soon, we’ll have the first properly finished and decorated room in our flat! Yay!