Alright, if you’re not into gardens, then you may want to skip this post! And many of the ones after, ha! I’m becoming a bit obsessed with this allotment, and making it perfect…
So last year we took on our first plot at the allotment (community garden) nearby. It had been left to get a bit overgrown as the previous owner couldn’t take care of it anymore. I talked about what our dreams for the plot were in this first post, as well as what we had done so far in this one. However, that is where my posts stopped! I kept wanting to take photos and post updates but would think “I need to weed first” because I wanted super pretty ‘Instagram-worthy’ pictures. Well, that never seemed to happen, and then our tomatoes all got blighted and I just gave up. I just never thought it looked good enough to document.
Buuut… it’s hard to really show how far we’ve come without first posting some photos from last year. They’re mostly just iPhone photos that I took to send to Richard while he was away, so he could see the progress. I apologize for their lack of quality.
So first up, we need to just remember where we started…
That was how the plot looked when we first signed up for it. It had rows of raspberry canes covering one half of the plot, a few giant woody lavender, a couple of rose bushes, and some fruit trees. Other than that, it was all just grass and weeds – completely overgrown.
We pulled up all the old landscape fabric and rotated the two halves of the plot. Unfortunately, as we learned the hard way, certain weeds etc. just get worse if you rotovate. Richard had broken up and turned the soil on one half by himself, but then while he was doing the second half, the allotment site manager came over and offered to rotovate instead. Turns out they get broken up and churned into the soil – only to pop up later 100 times worse. You can see evidence of that in later photos…
Now, to make things less confusing let’s refer to some diagrams and images – shall we? Last year just after we cleared the site, we drew up some plans of what we wanted to do (this plan was in my post about what we had done so far).
And of course, our plans changed as we went, and by the end of the summer, the actual plot looked like this. Oh, and my diagrams got better 🙂
Now, our plot essentially has two sides, broken up by the trees and grass in the middle (as shown in the diagram above). Let’s start by talking about everything that we did on Side A.
the plastic shed base, laid on top of the white weed-covering fabric
So one of the first things that we managed to do was create the patio area and shed. We ended up getting our shed assembled, because Richard was away at the time, and I can’t build it by myself (hard to lift and screw things together, simultaneously). The company delivered it and put it together in about 20 minutes! All I had to do was clear the area, level the ground, and install a base. To that end, I put down one of those plastic shed bases. It was super easy to put together and came with landscape fabric to prevent weeds from growing underneath. We could have gone with a wood base or concrete, but the wood ones are super expensive, and the concrete wasn’t going to work on an allotment.
Once the shed was up, I painted it black with some Tudor Black Oak stain we bought from B&Q, just like my inspiration photos. It probably took about 4 coats to really cover, which took forever with the tiny brush I was using. 😉 I also covered the exposed black shed base with some light grey gravel.
Then, I cleared the ground and levelled it as best I could for the patio. I had been dreaming of having a herringbone brick patio since Richard first mentioned having an area for BBQs and tea breaks. Somewhere nice to sit and relax after we’ve been gardening. We changed the orientation of the shed and patio from our first plans but kept it in the same corner of our allotment.
We had been given some free bricks from Richard’s work, and I simply laid them on top of some landscape fabric and filled them around with packed earth to prevent them from shifting. Unfortunately, we never filled in the gaps with sand, which meant that it shifted around a fair bit when walked on. Something we remedied this spring, when we decided to increase the size of the patio!
On the shed side of the allotment (side A), we ended up planting beans, tomatoes, and herbs. Richard was given some shipping crates from his work (not the best wood, but hey – free!) that we turned into raised beds for nasturtiums, lettuce greens, and my cucamelons! I painted them with the black stain that I used on the shed and they looked really nice! Nothing that a little black stain can’t spruce up! I erected some bamboo in between two boxes and rigged up a trellis with some string for the cucamelons to grow up. My original plan was to make a living archway, but the bamboos just weren’t tall enough to walk under.
you can see the boxes in the right photo, along with by cucamelon trellis before it was tied together
bean trellis in the foreground, tomato plants behind, then boxes in the background
The third box we had was used for carrots, as it was the only one deep enough. We had read online that chives prevent carrot flies, so we planted some in each corner of the box, and it seemed to do the trick! None of our carrots suffered from pests all summer. Beside the grass and trees, along the boxes, we added a row of raspberry canes that we salvaged from the plot when we took it over. The only other things that we planted were some sweet peas and lavender around the shed.
Everything was doing really well until our tomatoes caught blight. Almost everyone in our allotment got it and we ended up losing all 12 plants. Juuuust as they all had tomatoes about to ripen 🙁 We were both so depressed. We had all kinds of tomatoes too, from green zebra ones to giant beefsteaks.
all our lovely tomato plants just as they caught blight 🙁
On the other side of the allotment (side B), we planted rows of beets, swiss chard, peas, potatoes, zucchini, and oka. We also had a patch of strawberries, rhubarb, and Jerusalem artichokes, as well as some dahlia and sunflowers. This side of the allotment did really well! The rhubarb was constantly provided, as were the potatoes, zucchini, beets, peas, and Swiss chard. We forgot to harvest the oka and Jerusalem artichokes until it was too late, and the strawberries kept getting eaten by squirrels.
our rhubarb, strawberry patch and the rows of newly sprouted plants
our beets and Swiss chard just as they started coming up
this side of the plot once everything had come up!
The only other things on the plot were our fruit trees. The plums we missed, as we were away when they were ripe, but we got plenty of apples! However, our cherry tree kept dropping all the cherries before they ripened… so something is wrong there. Just not sure what.
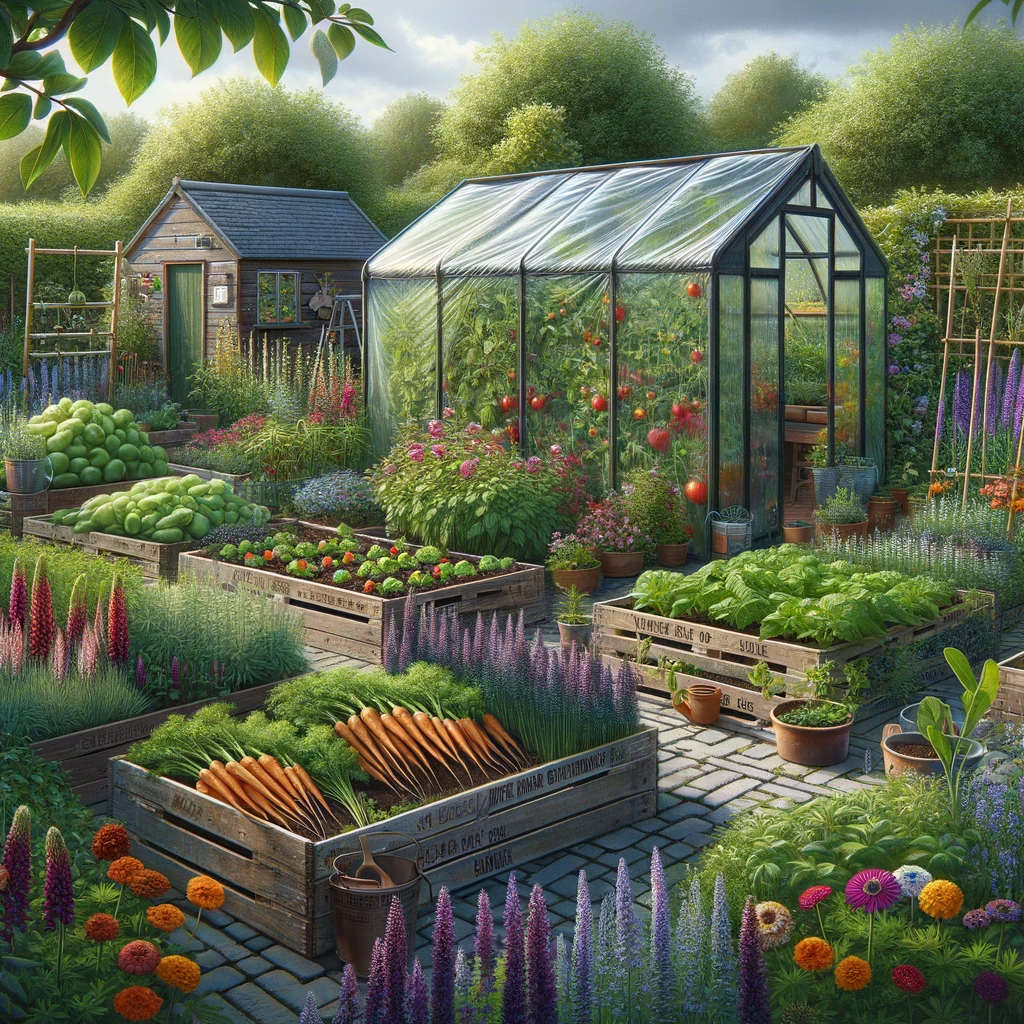
And that’s it! That was our allotment last year, and boy has it changed! So far we’ve moved tons around, built a greenhouse, and got a second plot! 🙂 If you follow me on Instagram, and especially the stories, you’ll have seen more of this by now. I’m planning on documenting the allotment much more this summer, with a post every month on how things are going. We have big plans this year!
What about you? Any plans for growing your own fruits and vegetables this summer?