If you’re anything like me, then the idea of making every component of Christmas dinner, on the day, is stressful. I’m a huge fan of making as many things as possible the day before. That way, I can actually enjoy the day itself! One of those things that always seems to add to last-minute stress is gravy. Because you’re waiting for the pan drippings to start, you’re often trying to finish the gravy just when everything else needs mashing/plating/mixing/etc.
That’s why Richard and I are such huge fans of this recipe from Jamie Oliver! It might take hours to make, but gives you a gravy that you can make the day before, or even the week before and freeze. (When I say it takes hours, most of that time is spent in the oven, or simmering on the stove.) Then, on the big day, you simply add in your drippings, heat, and serve! I also like that it allows you to perfect the gravy, rather than rushing it, as most people agree gravy is very important!
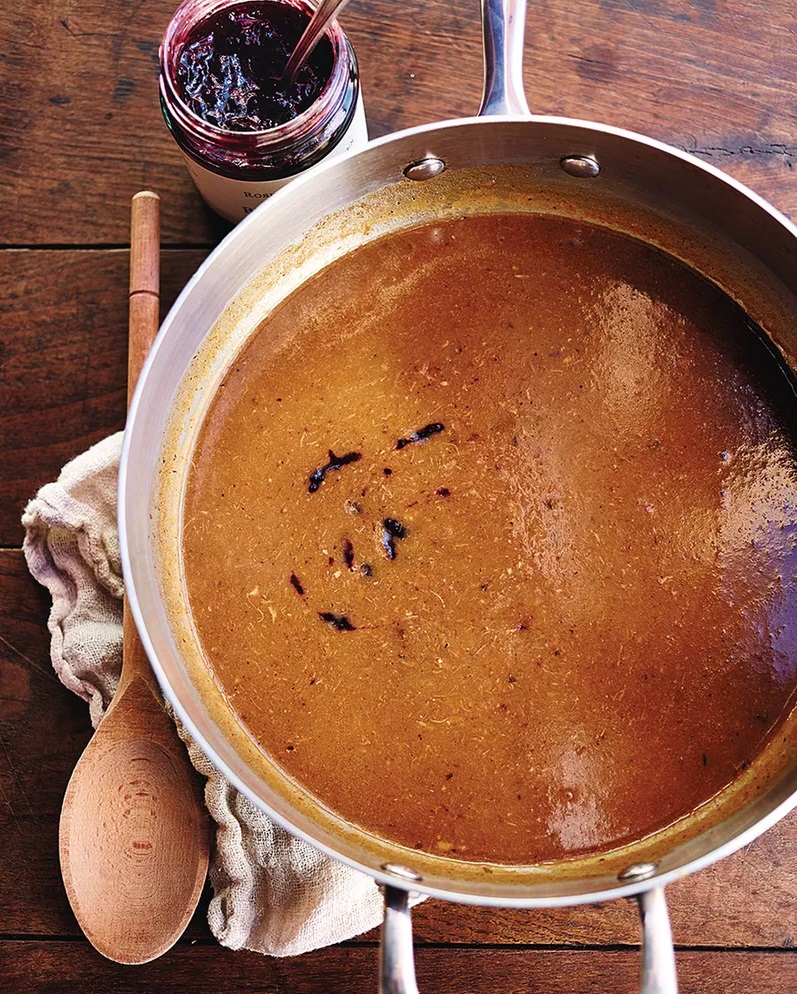
I forgot to take a photo of the actual gravy once it was done, but I think we all know what gravy looks like 😉 Also, I used parchment paper in the tray, but regretted it later, as you kind of want the stuff to burn/brown on the bottom of the tray.
So if you’ve got a bit of time today or tomorrow, why not save yourself the hassle, and make your gravy ahead of time?
Make Ahead Gravy
Ingredients
- 10 chicken wings
- 2 onions
- 2 carrots
- 2 celery stalks
- 2 + slices of smoked streaky bacon
- 2 bay leaves
- 2 sprigs fresh sage
- 2 sprigs fresh rosemary
- 60 ml sherry or port optional
- 4 tbsp plain flour
Instructions
- Preheat the oven to 180°C (350°F). Roughly chop the bacon and set aside.
- Peel the onions, wash the carrots and celery, and roughly chop all vegetables.
- Put the vegetables, bacon, bay leaves, sage, and rosemary into a roasting tray,
- Break the chicken wings open, and bash with a rolling pin to help release extra flavour. Place in the tray.
- Drizzle everything with oil, season with salt + pepper, and toss. Cook for 1 hour, or until vegetables are tender.
- Remove the tray from the oven and transfer to a low heat on the stove. Really grind and mash everything with a potato masher, scraping up all the goodness from the base of the tray (the longer you let it fry, the darker your gravy will be).
- Add the sherry/port (opt.) now and allow to simmer for a few minutes.
- Gradually stir in the flour, then pour in 2 litres of boiling water. Simmer for 30+ minutes, or until thickened and reduced, stirring occasionally.
- When the gravy is the consistency you like, pour it through a coarse sieve into a large bowl, squeezing out as much liquid as you can with the back of a spoon.
- Taste and season, cool to room temperature, then pour into containers or bags and pop into the fridge or freezer, ready to finish off on the day.
- When your turkey is ready and resting, skim away most of the fat and pour your gravy into the tray with the rest of the turkey juices.
- Bring to the boil on the stove, and scrape up all those sticky bits from the base. Have a taste, and season if necessary.